Do you want to be able to consult your blog at any time and share it with all your loved ones in a simple and creative way? Don’t wait any longer to create your blook! Keep your writings and memories alive in a real social book.
In this new article, we will explain the main steps to create your blook! The choice between book or album, and the final step of ordering.
1 – Choose the right format for your blook
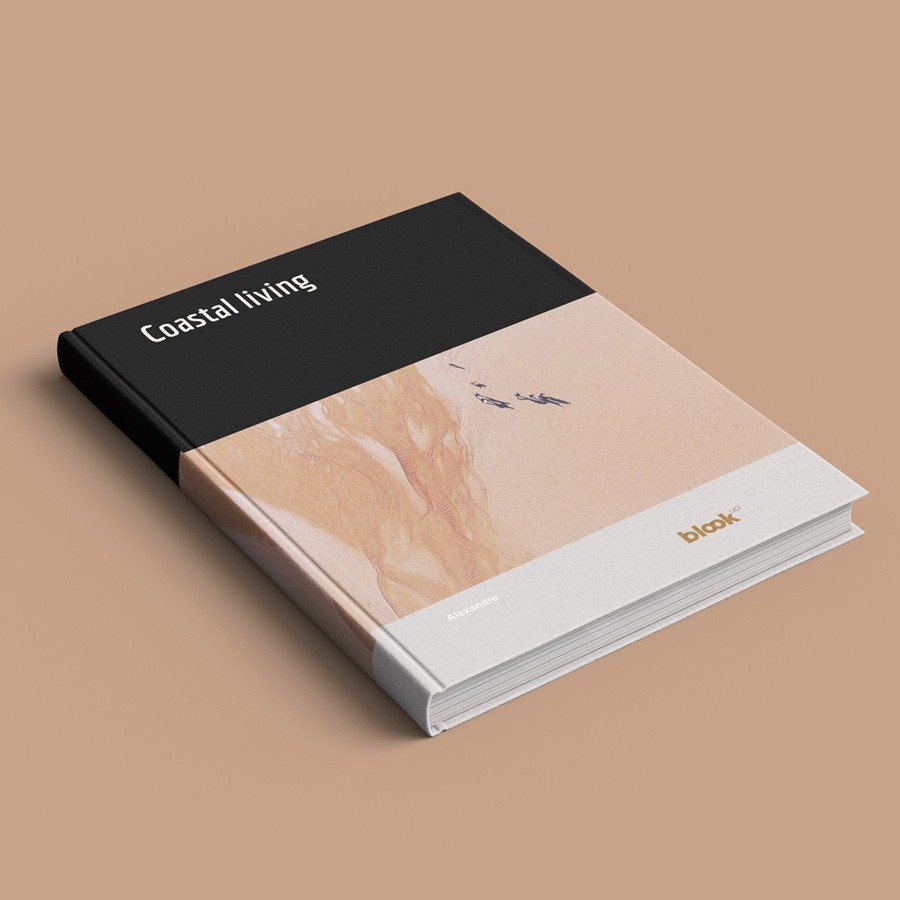
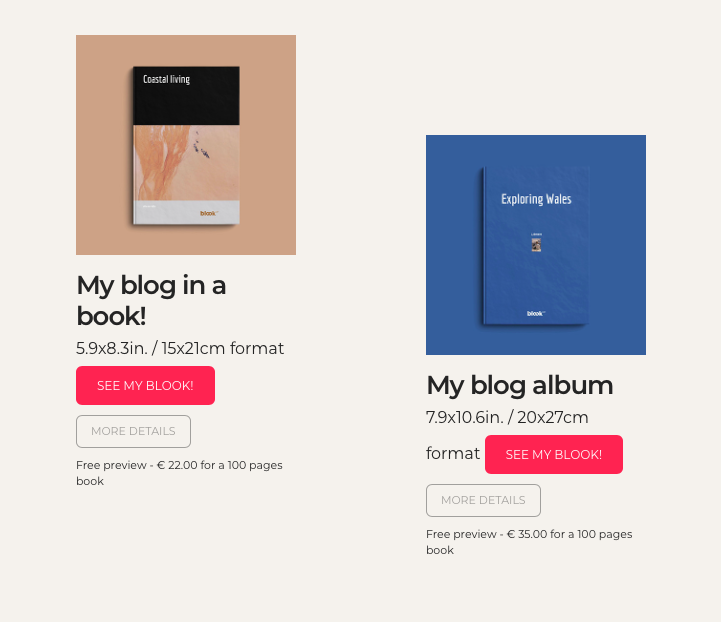
The blog book is a 15X21cm blook that you can choose hardcover or paperback.
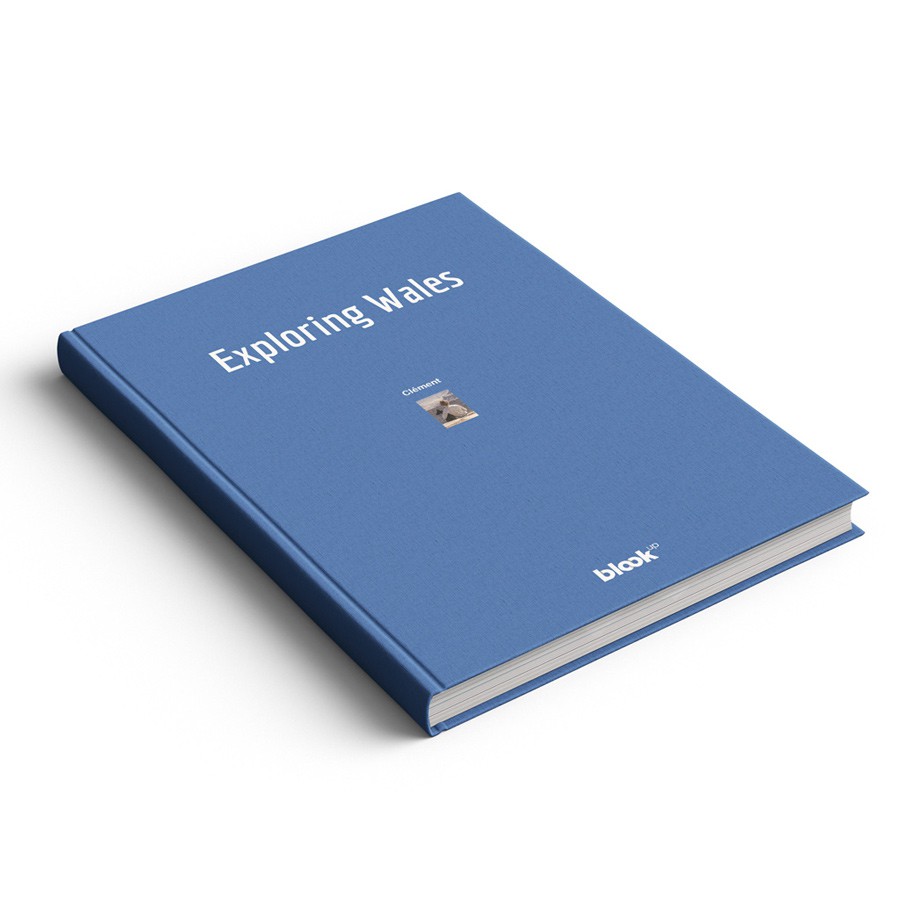
The blog album is a bit bigger, at 20X27cm. You can also choose hardcover or paperback.
First, you will have to choose between those two formats, the book or the album. They’re different formats, with different dimensions. Keep a record of all your memories is a small or a bigger book ! But choose wisely because it won’t be possible to change it once it’s printed!
2- Import your blog
Once you’ve made your choice, click on “see my blook.”

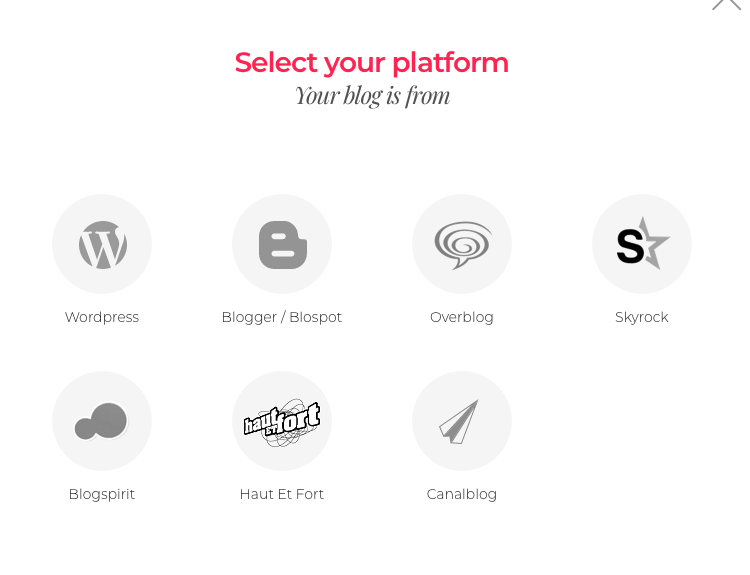
Then, select your blog platform by clicking on the corresponding logo. Via BlookUp, you can choose between WordPress, Blogger/Blogspot, Overblog, Skyrock, Blogspirit, Haut et Fort and Canalblog.
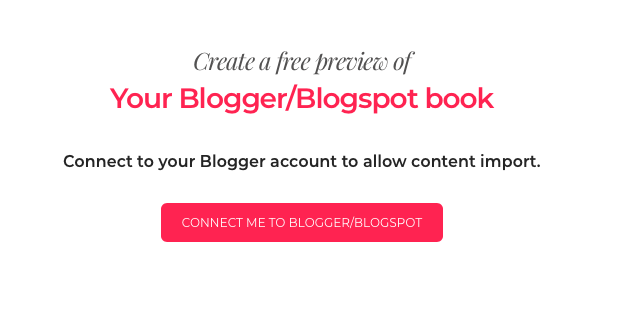
Click then on the button “connect me to [name of chosen platform]”
Sometimes, we can ask the URL address (for WordPress for example) or your blog username (Canalblog or Haut et Fort). In any case, you should know that BlookUp never had and will never have access to your secure user information!
Once you are connected via your blog platform, you will be directed to BlookUp, and your content will automatically be imported from the chosen platform. The import time can be different depending on the size of your blog.
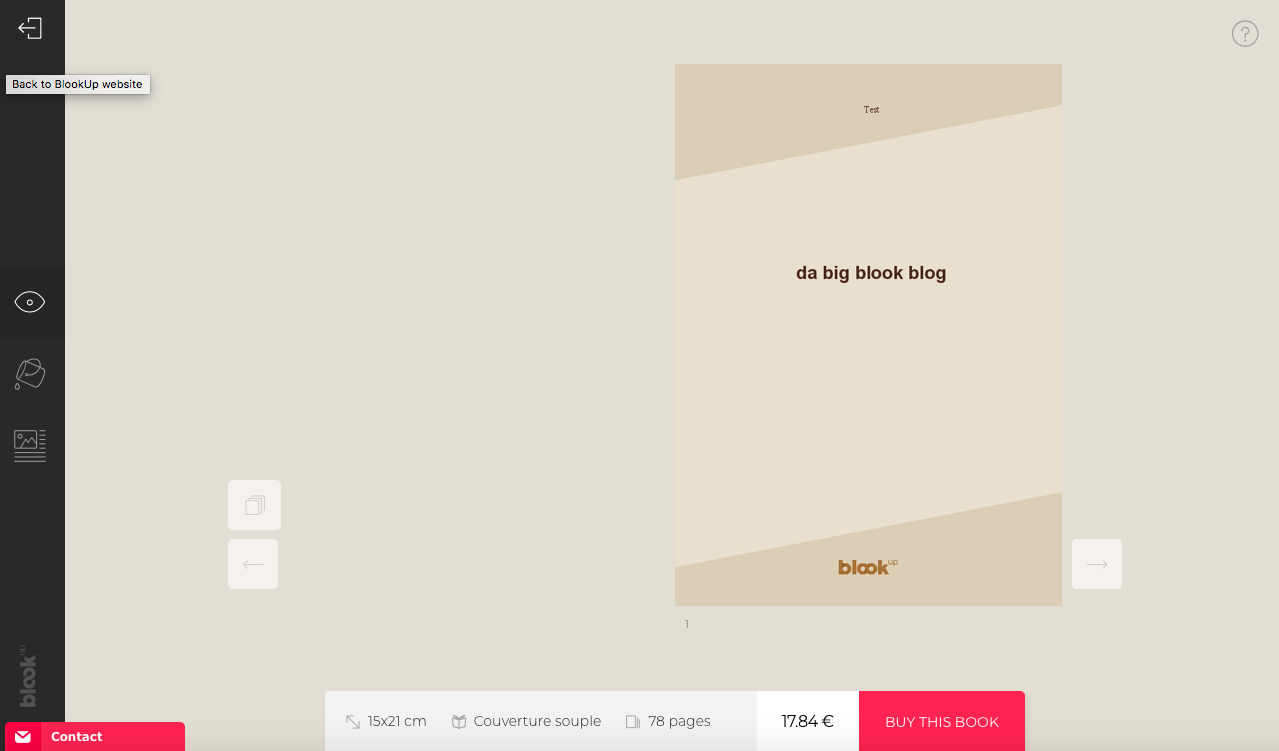
Once imported, your content will then turn into a numerical preview in the shape of a book. The banner on the bottom part of the webpage gives you technical information about the chosen book! Such as the dimensions, the type of cover, the number of pages, as well as the price. It also allows you to add your creation to your cart in order to buy it.

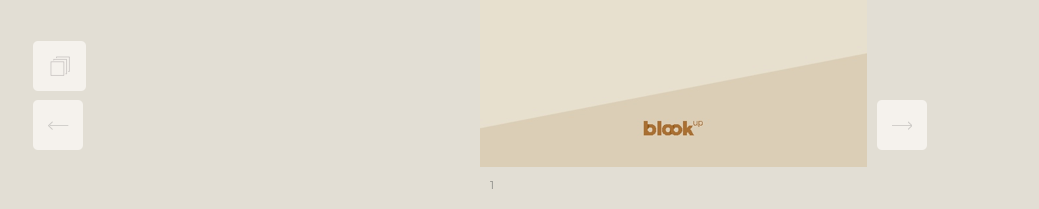
The button on the left of your book () will allow you to rapidly discover it, when the arrows on each side enables you to simply go from one page to another.
3 – See and personalize your blook
The black banner on the left is the menu! Giving access to all the options allowing you to create your blook exactly how you like.

The icon representing an eye is the page by default when you import your book for the first time: the blook preview. Every time you modify something, a pink bubble will appear on this icon. This means you have to generate the book one more time by clicking on it to see the updated preview. This will automatically save all of the modifications you did and you can then check if it indeed appears in your book.

The second button, in the shape of a paint bucket, will lead you to the personalization page where you will be able to work on the cover and the inside page of your book.
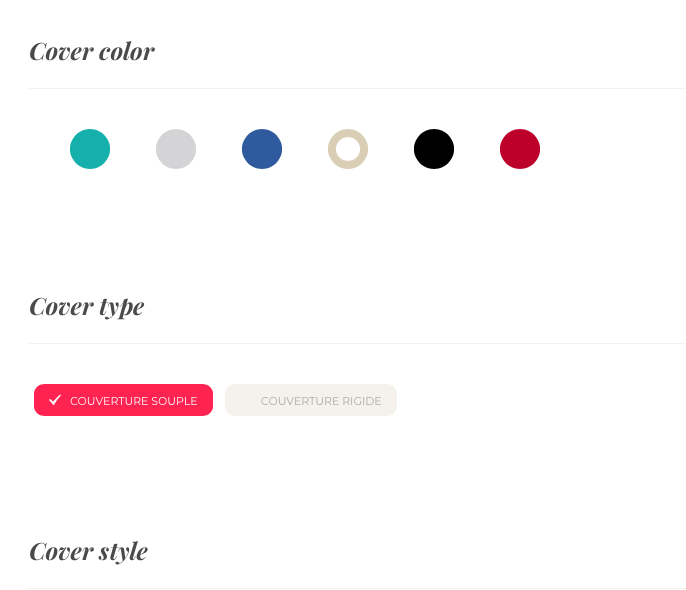
For the cover, you can choose between six colors and two types. You can also modify the title, the subtitle and add a picture you want. It is also possible to work on the back cover by adding an author biography and a recap of the book.
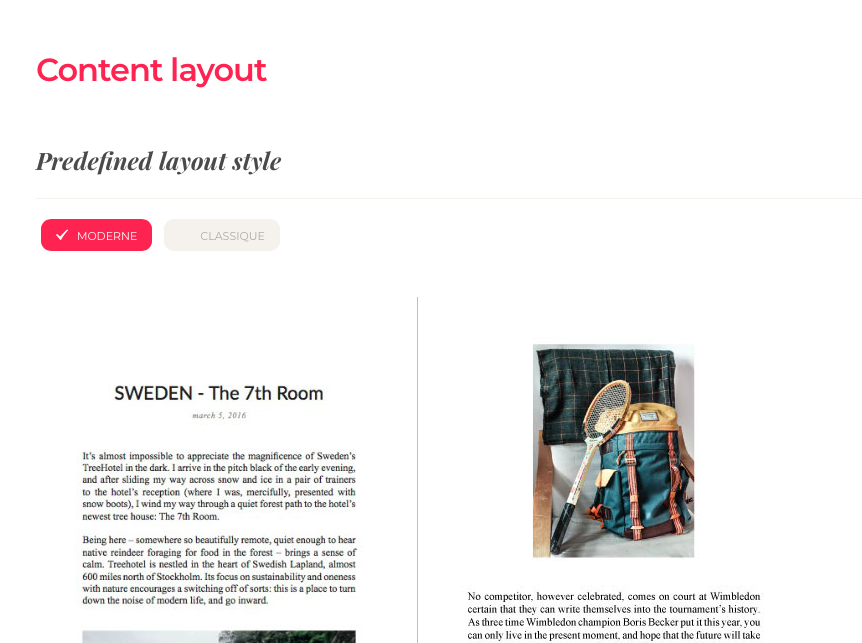
The button “layout” on the top will allow you to choose a page setting (“classic” or “modern”) or to personalize in depth thanks to the choice of the font and its size for the texts and titles, as well as the size of your pictures. You can also activate some other options like page breaks after every article, dates, and a table of contents.

Finally, the third and last button will allow you to edit the content of your blook. You can here organize, edit and correct what you want to print.
You can define a period of time, useful to select one single year so you can start a blook collection! In that period of time, it will be possible to exclude as well as include articles of your choice, to invert the order in one time or individually by sliding the article from one place to another with a single click. It all depends on what you want to see in your blook!
For some of the blog platforms, you can also use your categories as chapters in order to organize the book.
4 – Save and order your blook

Once you blook is ready, you only have to click on “buy my blook” 🙂
If you need more time to finish it, you can keep it for a period of time of 3 months in your account. To do so, you just need to set up an account with BlookUp, which takes less than a minute.
An email will be sent to you 7 days before the end of this 3 months period in order to warn you. You just need then to modify something in your blook to extend this period.
5 – Your turn!
BlookUp allows you to keep a record and add value to your work, sometimes the work of an entire life, in a real, physicalbook collection.
Try generating your free preview of your blog book or album by clicking here. In a few minutes, turn the virtual into real!